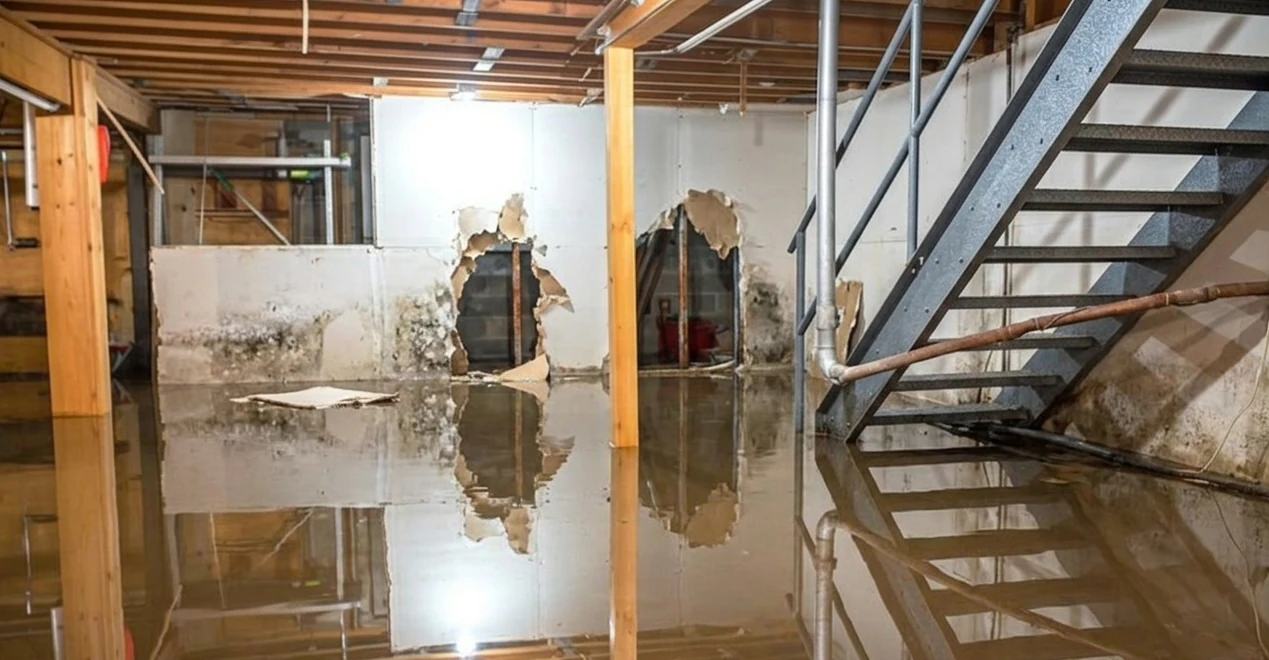
A cracked flashing detail, a buried valve location, a water-stained ceiling, or a customer-requested change can disappear into a sea of plain jobsite photos. A construction image capture annotation tool turns those snapshots into a usable record by showing exactly what matters, where it is, and what needs to happen next.
For trade contractors, the point is not making prettier photos. The point is stopping arguments before they start. When a crew can mark an issue directly on an image, add a note, and tie it to the job record, the office does not have to guess what happened in the field. The client sees the condition. The next crew sees the location. The business keeps proof.
What a Construction / Jobsite Image Capture Annotation Tool Should Do
A jobsite photo is useful only if someone can find the important detail later. Raw photos often create more work: they live on one technician's camera roll, lack context, and force a manager to scroll through dozens of identical-looking thumbnails to locate a specific problem.
A construction image capture annotation tool should let the person who took the photo identify the exact issue while it is still in front of them. That may mean drawing around damaged siding, placing an arrow on a faulty HVAC connection, adding a text box about a failed pressure gauge reading, or calling out a change in scope. The annotations should live on their own layer over the image - connected to the project, date, and person who documented it - while the original photo underneath stays untouched. That untouched original is what makes the record credible later.
The strongest tools also make field evidence hard to question. Look for automatic timestamps, GPS location data where appropriate, centralized cloud storage, and originals that stay intact no matter how the image is marked up. Those details matter when a homeowner disputes pre-existing damage, a general contractor challenges progress, or an insurer asks for a clean visual timeline.
Why a Photo Needs More Than a Caption
A caption such as "roof damage on west side" is better than nothing. It is also open to interpretation. Which section of the roof? What damage? Was it present before work began? Did the crew repair it, report it, or work around it?
Annotation gives the photo a clear point of reference. A red circle around lifted shingles, an arrow showing water travel stains, or a text callout on a missing disconnect removes a lot of back-and-forth. It gives the office and client the exact same view the technician had on site.
This matters most when the issue is surrounded by clutter, hidden, or difficult to pick out in a wide shot. A plumber can snap a photo of a pipe layout and circle the exact joint that is weeping. An electrician can shoot a breaker panel and point an arrow at the specific circuit in question. A hardscape crew can overlay lines on a photo to show grade, drainage direction, and the edge of an existing structure before equipment starts moving - and add measurement text in feet-and-inches or metric where dimensions matter.
While individual photos are fast, sometimes a single snapshot isn't enough. Use sequential image sets or multi-angle photos when site context, large dimensions, or progressive testing stages make the story clearer. Then annotate the specific part that needs immediate attention.
Capture the Record at the Point of Work
The best documentation process does not depend on crews remembering details after they leave the site. Capture the image when the condition is fully visible, then mark it before the next task pulls attention away.
For a field crew, the workflow should be simple: open the job, take the photo, add the callout, write a short note, and save it. If the site has weak service, the tool needs to support offline capture and upload when the phone reconnects. Crews should not be forced to repeat work because a basement, rural site, or steel-framed building killed the cellular signal.
Keep notes plain and specific. "Existing crack in stucco above window, present before tear-off" is useful. "Damage" is not. "Pressure gauge reading at 60 PSI, no drop observed" gives a manager and client something concrete. A good record answers the basic questions: what was found, where it was found, when it was documented, and what the crew did next.
Avoid taking dozens of repetitive, unorganized photos of the same spot. Blurry, poorly lit snapshots create storage clutter and make review harder. Take a well-lit, focused shot, include a recognizable landmark in a wide photo for context, and then get a clear close-up of the condition itself. If a measurement or serial number matters, place a text label right next to it so it can be easily read later.
Turn Marked Images Into Action
Documentation is only half the job. An annotated photo should also help the right person act.
When a technician finds a problem, the project manager needs more than a text saying "call me." The manager needs the location, the visual proof, the recommended next step, and a way to assign responsibility. A marked image can support a digital task for a repair, material decision, customer approval, or follow-up inspection.
For example, a roofing crew may snap a photo of compromised decking after tear-off, circle the rotted area, and note the estimated plywood sheet count. The project manager can review the visual evidence, prepare a change order, and send the client a clear explanation. No vague phone call. No photo lost in a text thread. No debate over whether the condition was actually there.
The same process helps with quality control. A supervisor can document an incomplete penetration seal, mark the exact spot with a bright arrow, and assign the correction as a task before the crew leaves. The closeout record then shows both sides: the annotated issue image and the completed fix photo. That is accountability without turning the jobsite into a paperwork exercise.
Build Records That Hold Up Outside the Jobsite
A client may only need a quick photo update. An insurance carrier may need a detailed visual timeline. A lawyer may need proof that shows what existed before work began. One well-organized set of annotated photos can serve all three, but only if it was captured and stored correctly.
Keep annotated images grouped with related notes, tasks, and documents under the right project file. Separate folders on personal phones, text-message threads, and unlabeled cloud drives create gaps. Gaps are where disputes grow.
Client-facing reports should be clean and professional, but the source record needs to stay intact. A branded PDF report can show the selected annotated photos and explain the work completed - and because annotations are a separate layer, the report can show the original photo, the marked-up version, or both, while the untouched field media stays securely available behind it. Polished communication earns trust. Defensible documentation protects the business when trust breaks down.
This is where a jobsite-first platform such as CrewBox Pro can make a real difference. It keeps annotated field photos, tasks, timestamps, and project records in one place, so the evidence does not get scattered between crew phones and office inboxes.
Choose the Right Tool for Your Crew
Do not buy a construction image annotation tool because it has the longest feature list. Buy one your crew will actually use at 4:30 p.m. after a hard day on site.
Start with mobile speed. Can a technician capture, mark up, and save a photo without opening a laptop or hunting through complex submenus? Next, check organization. The tool should automatically attach the media to the correct project and make it easy to filter by date, crew member, or tag.
Then look at proof controls. Timestamped files, user attribution, automatic GPS-tagging, and protected original images carry more weight than cropped, edited snapshots passed around by text. Finally, consider reporting. If managers must manually download images and build every client PDF update from scratch, the tool is only solving part of the problem.
There is a trade-off. Highly detailed desktop-grade drawing options can help on complex engineering or commercial work, but too many markup controls can slow down a small residential crew. The right setup depends on your jobs. A remodeler may need fast change-order photo evidence. An HVAC contractor may prioritize quick equipment data plate photos and test result markups. A landscape contractor may care most about pre-existing conditions, site boundaries, and drainage elevations.
Set a Standard Before the Next Dispute
A tool will not fix inconsistent habits by itself. Give crews a short standard for when to snap and mark photos: before work begins, when hidden conditions appear, when scope changes, when final tests are performed, and when corrective work is complete.
Train crews to use short descriptions, recognizable landmarks for scale, and one clear markup color or callout per issue. Managers should review these image records early, not weeks later at invoice time. When photo documentation becomes part of the daily work sequence, it stops feeling like extra admin and starts protecting the next decision.
The next time a client asks what was found behind the wall, where the leak started, or why the price changed, do not rely on memory. Freeze the condition in a clear photo, mark it in the field, and keep the proof where the whole project team can use it.
Mark It Up in the Field With CrewBox Pro
CrewBox Pro puts the whole workflow on the phone your crew already carries: capture the photo, circle the problem, add an arrow or measurement, and save it to the right project with the timestamp and GPS attached - even with no signal. The original image is never altered, so the record holds up when it matters. Sign up for CrewBox Pro and start turning jobsite photos into proof today.