
Before You Start
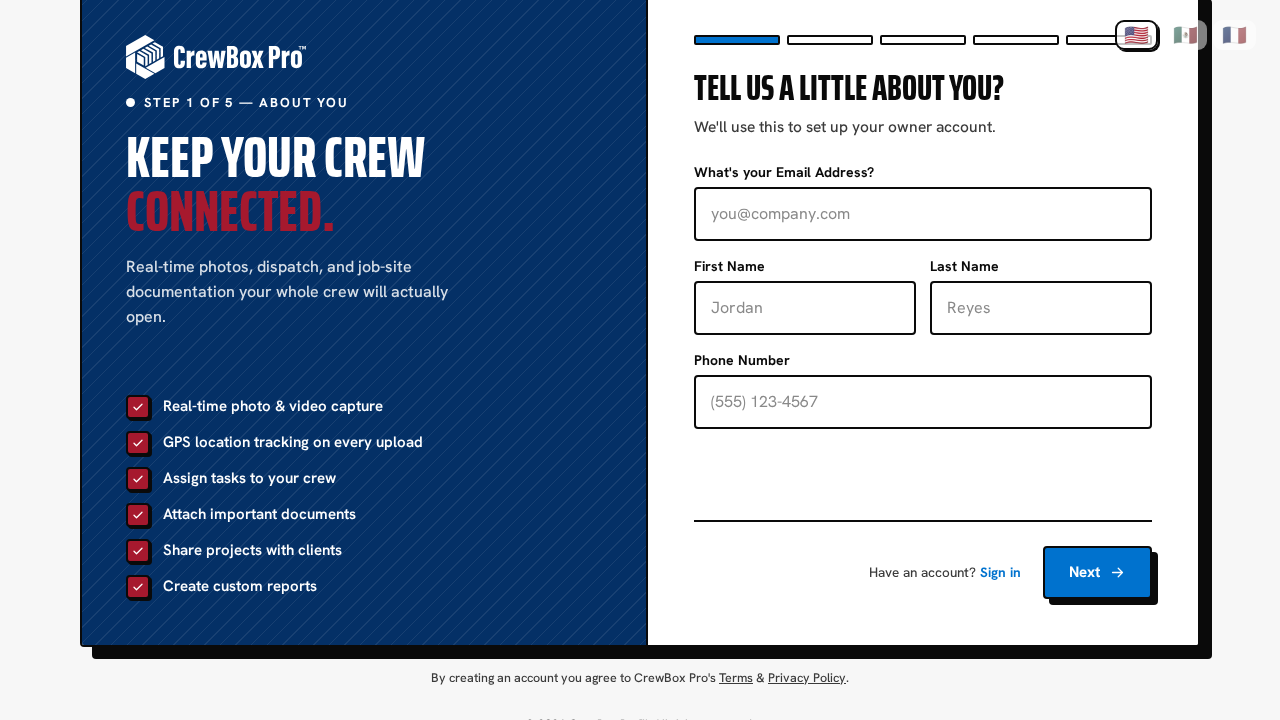
The signup wizard lives at the CrewBox sign-up page and shows a progress bar as you go. You can move Back at any step, and a language switcher (🇺🇸 English / 🇲🇽 Spanish / 🇫🇷 French) at the top of the wizard changes the language instantly.
Complete the 5-Step Wizard
- Contact — Enter your email, first name, last name, and phone number. CrewBox checks your email as soon as you leave the field; if it's already registered, a dialog offers Go to login instead.
- Team size — Click the card that matches your crew: Owner/Operator, 2–5, 6–10, 11–20, 21–50, or 50+.
- Business — Enter your company name and pick your business type (Construction, Electrical, Roofing, Plumbing, and more — choose Other if nothing fits).
- Choose plan — CrewBox auto-recommends the most affordable plan with enough seats for the team size you picked. Click Plan details to compare features in a full matrix, or click Skip for now to start on the free plan.
- Security — Create your password. A live strength meter scores it as you type on length, upper/lower case, digits, and special characters. Confirm the password and submit.
When registration succeeds, a confirmation dialog appears and hands you off to the CrewBox help center. If the server rejects anything, a dialog lists exactly what to fix.
Verify Your Email
- Open the verification email CrewBox sends you and click the link.
- The page verifies automatically — you'll see a "Verifying your email…" spinner, then Email Verified!
- Click Go to Login and sign in with your new credentials.
If the page says the link is no longer valid or has expired, request a fresh one and try again.