
Steps
1. Open account settings
Click your avatar in the sidebar footer and choose Account settings. A settings sidebar appears with your available tabs.
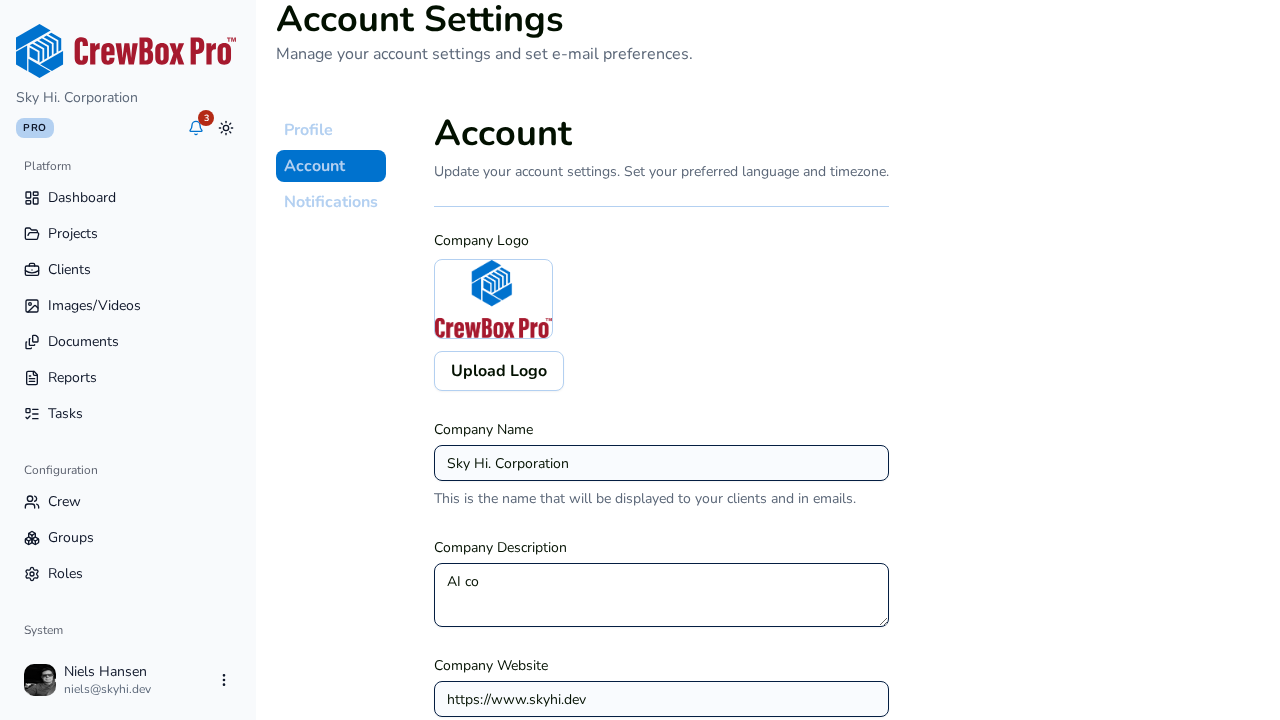
2. Go to the Account tab
Click the Account tab. This tab holds company-wide settings and is visible only to the workspace owner — if you don't see it, you're not the owner of this workspace.
3. Upload your company logo
Use the company logo upload to add or replace your logo. The logo appears on report covers, so a crisp version here makes every PDF you send to clients look the part.
4. Fill in company details
Update the company's public-facing information:
- Company name
- Description
- Website
5. Set the primary contact
Fill in the primary contact fields — first name, last name, email, and phone. Save your changes when done.