
Steps
1. Open the Groups page
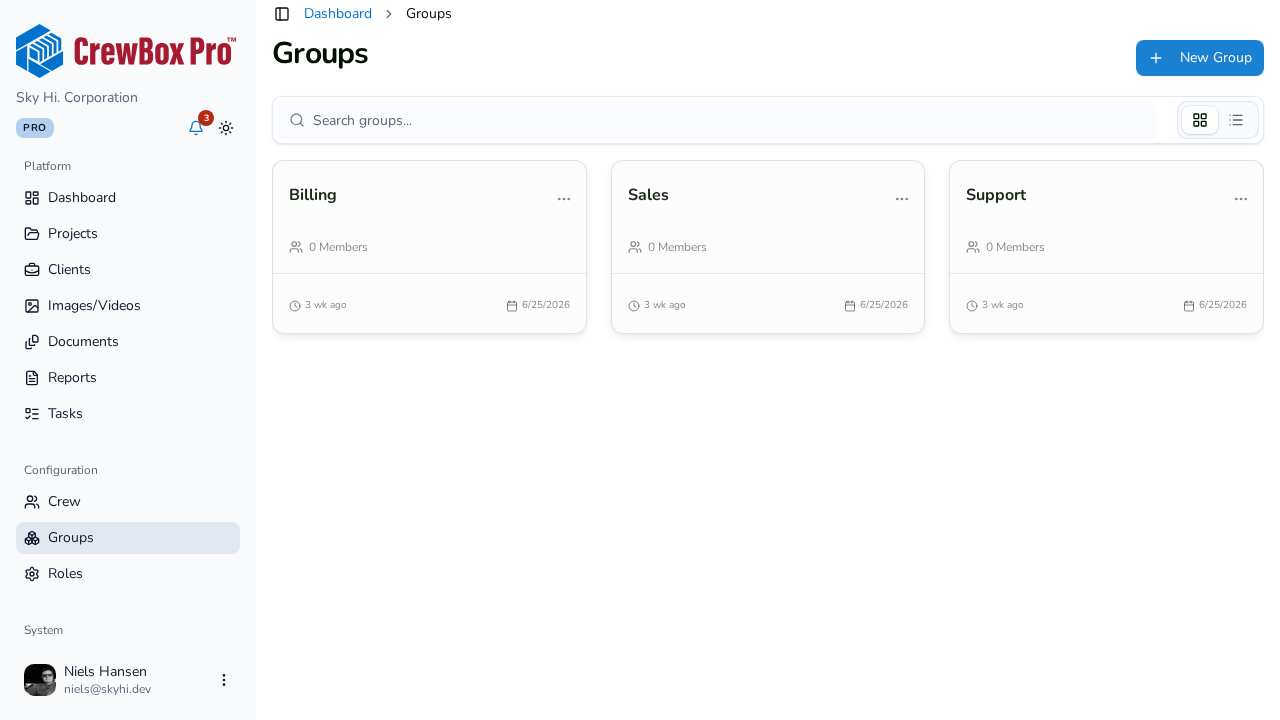
Go to the Groups page from the sidebar. Groups appear in grid or list view, and you can search by name. Each card shows the group's name, its member count, and creation/update dates.
2. Create a group
Click New Group. The modal asks for one thing — the group's Name. Save, and the group appears in the list.
3. Add crew members to the group
Membership is managed from each person's edit modal, not from the Groups page:
- Go to Crew Members and click Edit User on a teammate's card.
- In the Role & Access section, check the group in the Groups checkbox grid.
- Save.
You can also set groups when inviting someone with New Crew Member.
4. See groups in action
Group badges appear on crew cards and crew member profiles, so you can tell at a glance who belongs where. Project and document filters can slice by these crew assignments.
5. Edit or delete a group
From a group's card, click Edit to rename it, or Delete to remove it — deletion asks for confirmation first.