
Steps
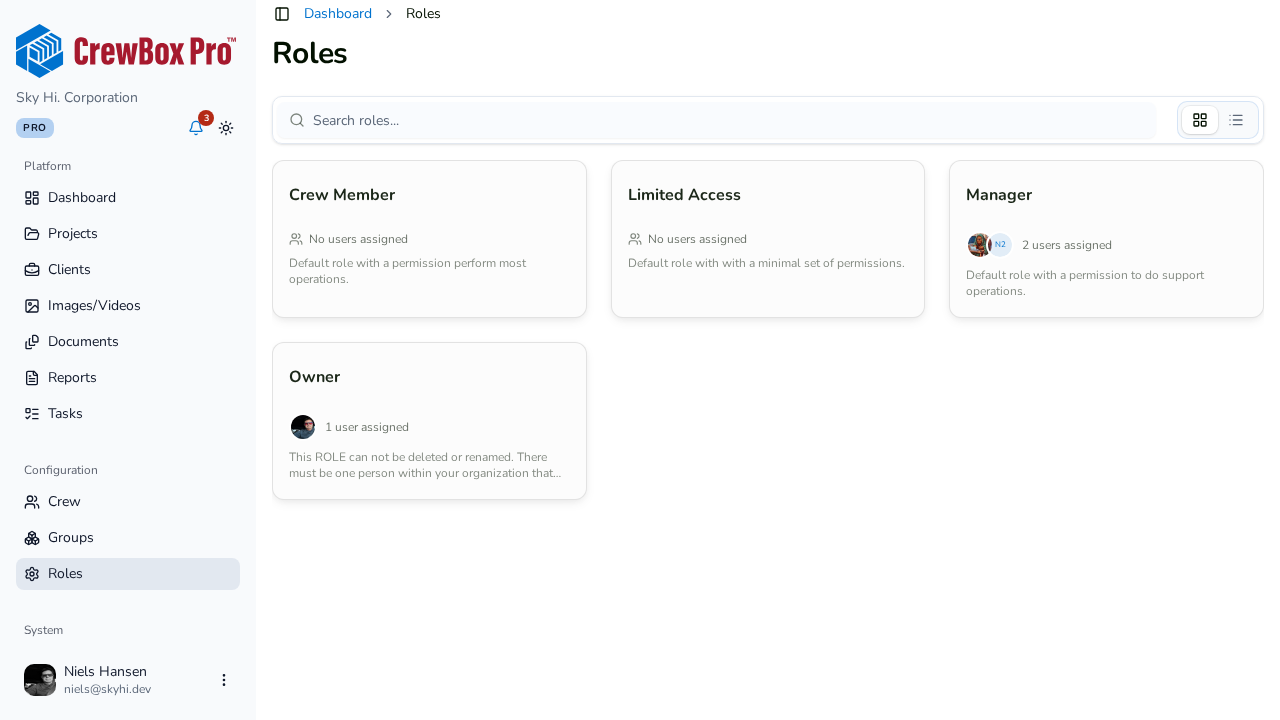
1. Open the Roles page
Go to the Roles page from the sidebar. Every role is listed with its name, description, an avatar stack of assigned users, and dates. Switch between grid and list views and use search to find a role.
2. Open a role's detail page
Click a role to open its detail view. The header shows the role's shield icon and color, its description, and how many users hold it (for example, "Assigned 4 Users").
3. See who holds the role
Click the Crew Members tab to list everyone assigned to the role.
4. Read the permissions policy table
Click the Permissions tab to see the role's policy table. Each row is one policy:
- Action — what the policy covers, such as
projects/createorclients/read. Actions span create / read / update / delete / manage-all across clients, groups, operator invitations, roles, operators, projects (plus assign/unassign operator), QR codes, and tenants, along with an IAM manage-permissions action and a global wildcard. - Status — whether the policy is active.
- Scope — what it applies to (
*means All). - Effect — Allow or Deny.
5. Know how permissions apply
Route access in the console is enforced against these policies — if someone navigates somewhere their role doesn't allow, they're redirected to the dashboard. To change what a person can do, assign them a different role from the user edit modal on the Crew Members page.