
Steps
1. Open the Client Categories page
Go to the Client Categories page from the sidebar. Categories (for example, Government or Commercial) appear in grid or list view, with search to find one quickly.
2. Create a category
Click New Client Category. The modal asks for:
- Name — the category label.
- Icon Color — the color used for the category and for the avatars of clients in it.
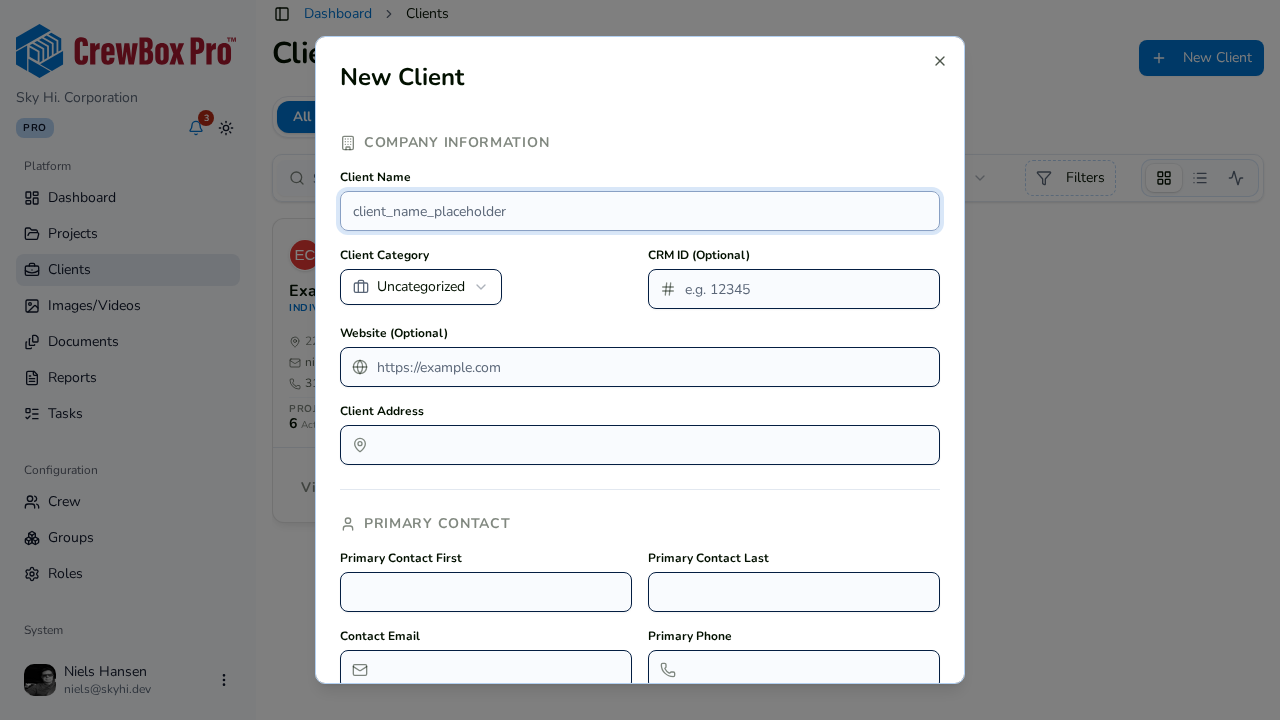
Save, and the category becomes available in the client create/edit modal's required Category select.
3. Edit a category
Click Edit on a category to change its name or icon color. Client avatars pick up the category color, so recoloring a category updates how its clients look across the console.
4. Delete a category
Click Delete on a category and confirm in the dialog.
5. Use categories when adding clients
Every client requires a category, so keep the list tidy and meaningful — a small, consistent set makes the client grid easier to scan.