
Two Directions, Same Result
From the task form (task-first)
- Create or edit a task (Tasks tab → +, or open a task → Edit).
- In the attachments area, add photos/videos from the project's media.
- You can also attach documents — the relevant plan or spec sheet next to the photos.
- Save. Attachments show as thumbnails on the task; the assignee taps them to open the full media viewer.
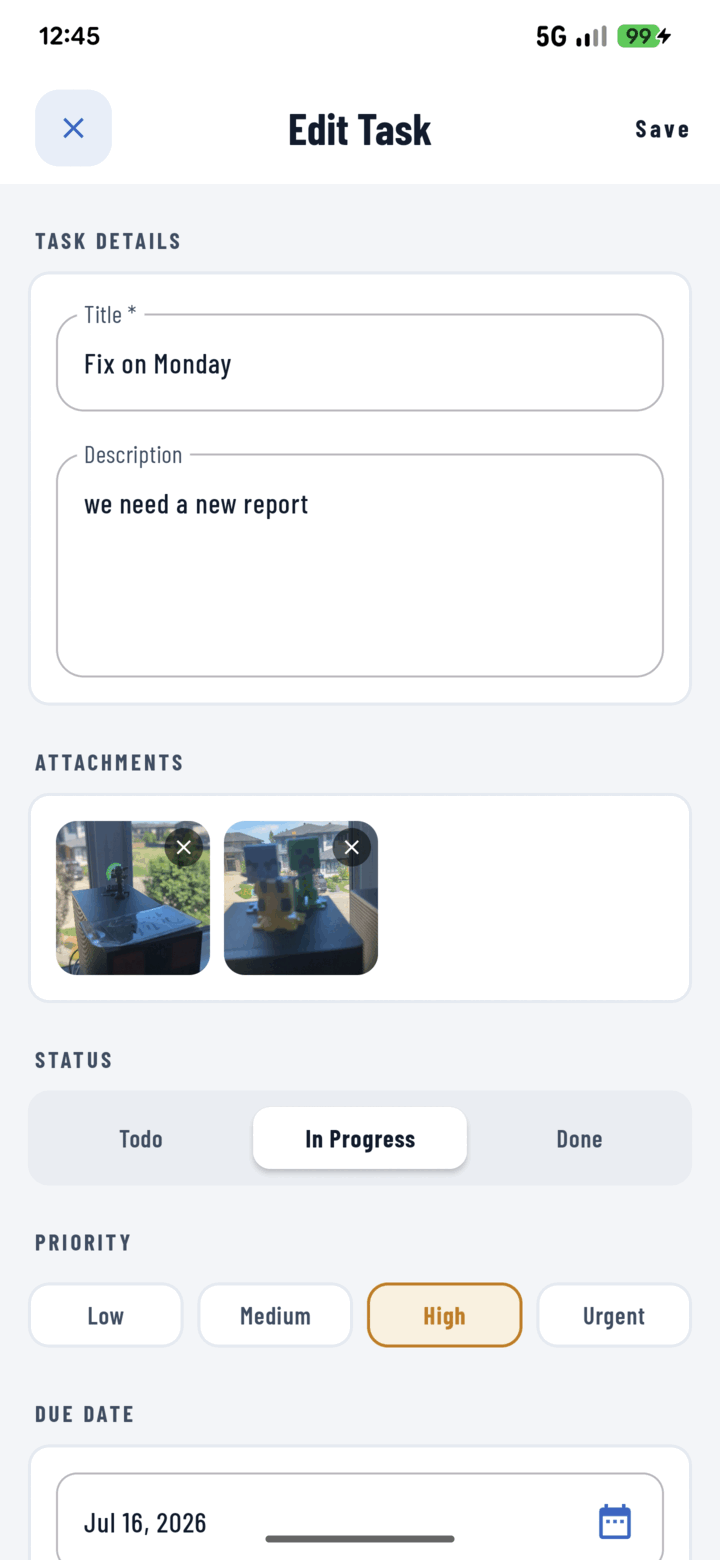
Photos live in the Attachments row of the Edit Task screen — add job-site photos to back up the task.
From the photo grid (photo-first — usually faster)
- In the project's Photos tab, long-press and select the photos showing the issue.
- Actions sheet → Assign to Task — the task form opens with the photos already attached.
- Title, priority, due date, assignee → Save.
Removing Attachments
Editing a task lets you unlink attached photos or documents (with a confirmation) — the media stays in the project library; only the link to the task is removed.
Why Photo-Backed Tasks Win
"Fix the flashing at the chimney" plus three photos beats a phone call every time: no ambiguity about which chimney, what damage, how bad. Add an annotation — circle the exact spot — before attaching for zero-question handoffs.
Related
- Assign photos to a task — the photo-first flow in detail
- Create and assign tasks
- Annotate a photo