
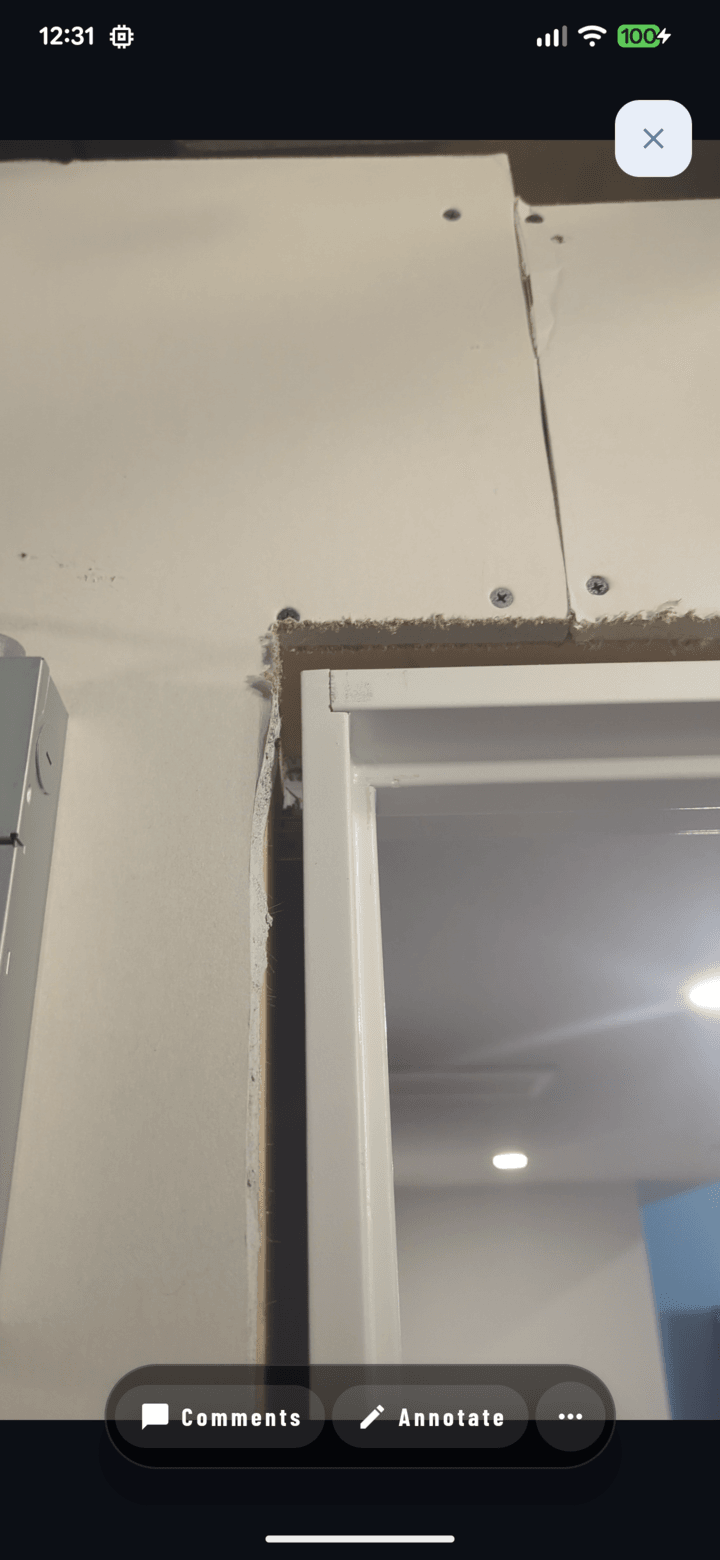
The Annotate button in the full-screen viewer's action bar opens the editor.
Opening the Editor
- Open any photo full-screen and tap Annotate in the action bar, or
- Set camera settings' After capture mode to Annotate to mark up every shot as you take it.
The Tools
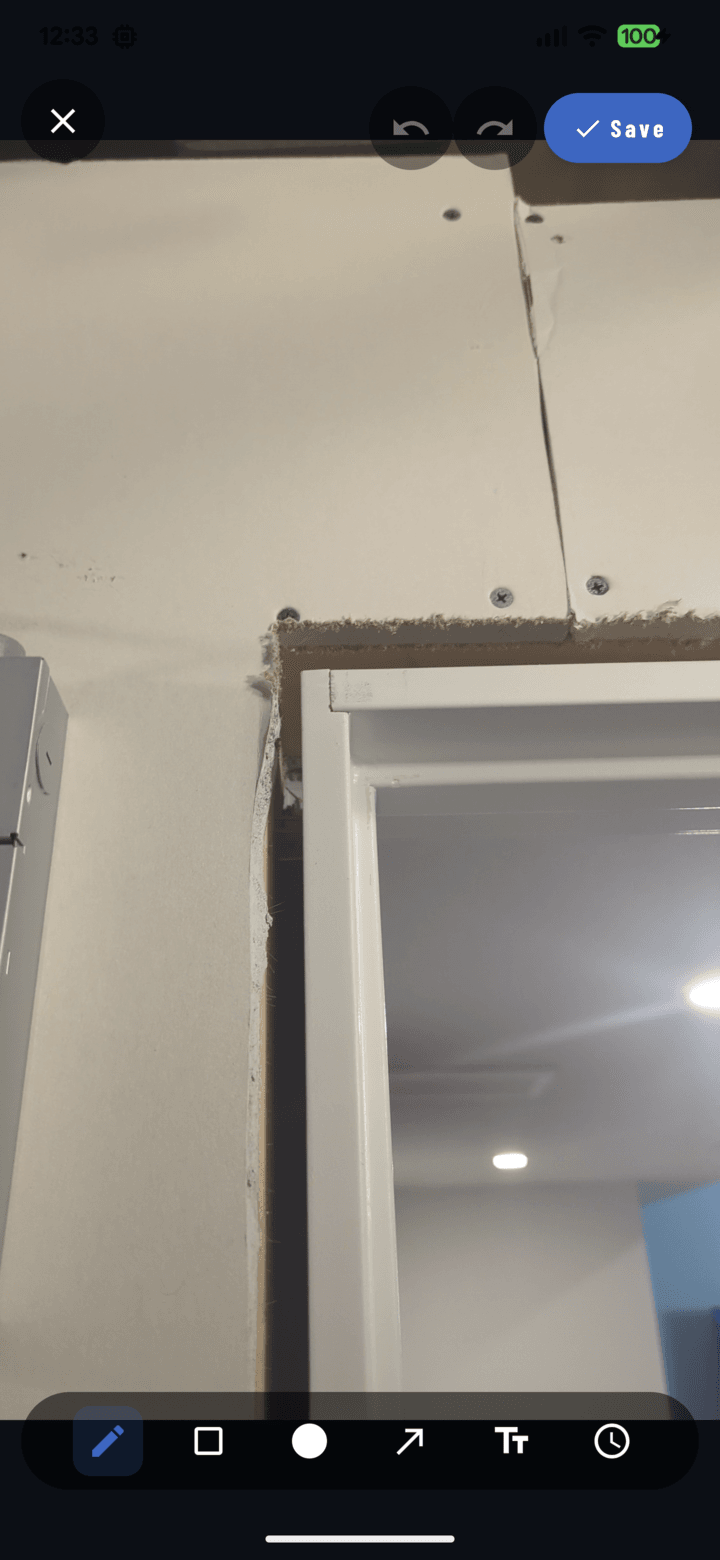
The annotation editor: undo/redo and Save in the top bar, tools along the bottom.
| Tool | What it does |
|---|---|
| Select | Tap a shape to select it; drag it or its handles to adjust |
| Rectangle | Draw boxes around areas of interest |
| Circle | Highlight round features |
| Line | Draw lines — with optional arrowheads at the end, start, or both |
| Text | Add labels — free text, or imperial (ft/in) / metric (m/cm) measurement modes |
| Timestamp | Stamp a date onto the photo, with a choice of date formats |
Working Precisely
- Pinch to zoom (up to 6×) and pan the canvas for detail work.
- Drag handles show a magnifier loupe so your fingertip never hides the exact point.
- Pick from 12 colors and adjust stroke width with the slider.
- Double-tap text to edit it.
- Undo / Redo are always in the top bar; select a shape and tap delete to remove it.
Saving
Tap Save. Annotations are stored as a separate editable layer — you can:
- Show or hide them in the photo viewer,
- Re-edit them any time,
- Choose Original / Annotation / Both when the photo appears in a PDF report.
Related
- Capture photos in the field
- Build a PDF report
- FAQ: Photo Annotation