
Steps
1. Start the report
- Open the project → Reports tab.
- Tap New Report (or From Template to reuse a saved structure — see templates).
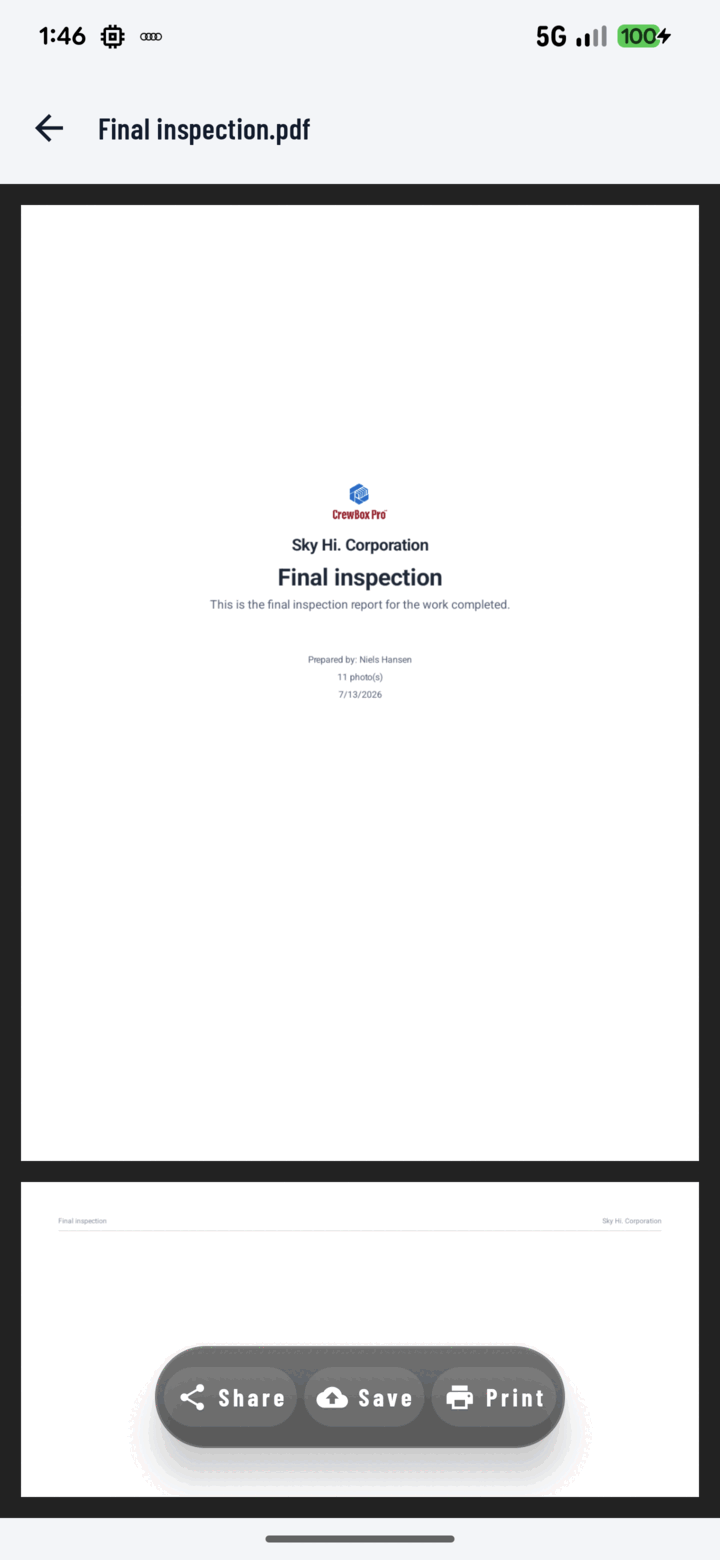
Generate PDF renders the report page by page — then Share, Save, or Print it from the preview.
2. Cover page
On the Cover tab, set the title and subtitle, and toggle the elements you want: company logo, company name, reporter name, date, and total photo count.
3. Sections and photos
On the Sections tab:
- Add a section, give it a title, subtitle, and summary.
- Tap Add Photos and multi-select from the project's media.
- Fine-tune each photo: reorder, edit (override its title, description, or display mode), duplicate, move to another section, or remove.
- Reorder or delete whole sections as needed.
4. Layout settings
On the Settings tab:
- Photos per page: 2, 3, or 4.
- Photo display: Original, Annotation, or Both (per report, overridable per photo).
- Header & footer: left/center/right text with insert-tokens (project name, dates, page numbers…).
- Show toggles: photo numbers, photographer, date, GPS, tags, line numbers, section pages, project and client name.
- Client access on or off.
The report auto-saves as you work (watch the Saving/Saved indicator).
5. Generate and share
- Choose Generate PDF — rendering shows page-by-page progress.
- From the preview: Share, Print, or Save to Documents (files the PDF into the project's Documents tab).
Fast Path from Photos
Select photos in the grid → Add to Report → append to an existing report or spin up a new one with them included.
Related
- Use report templates
- Annotate a photo
- FAQ: Reports