
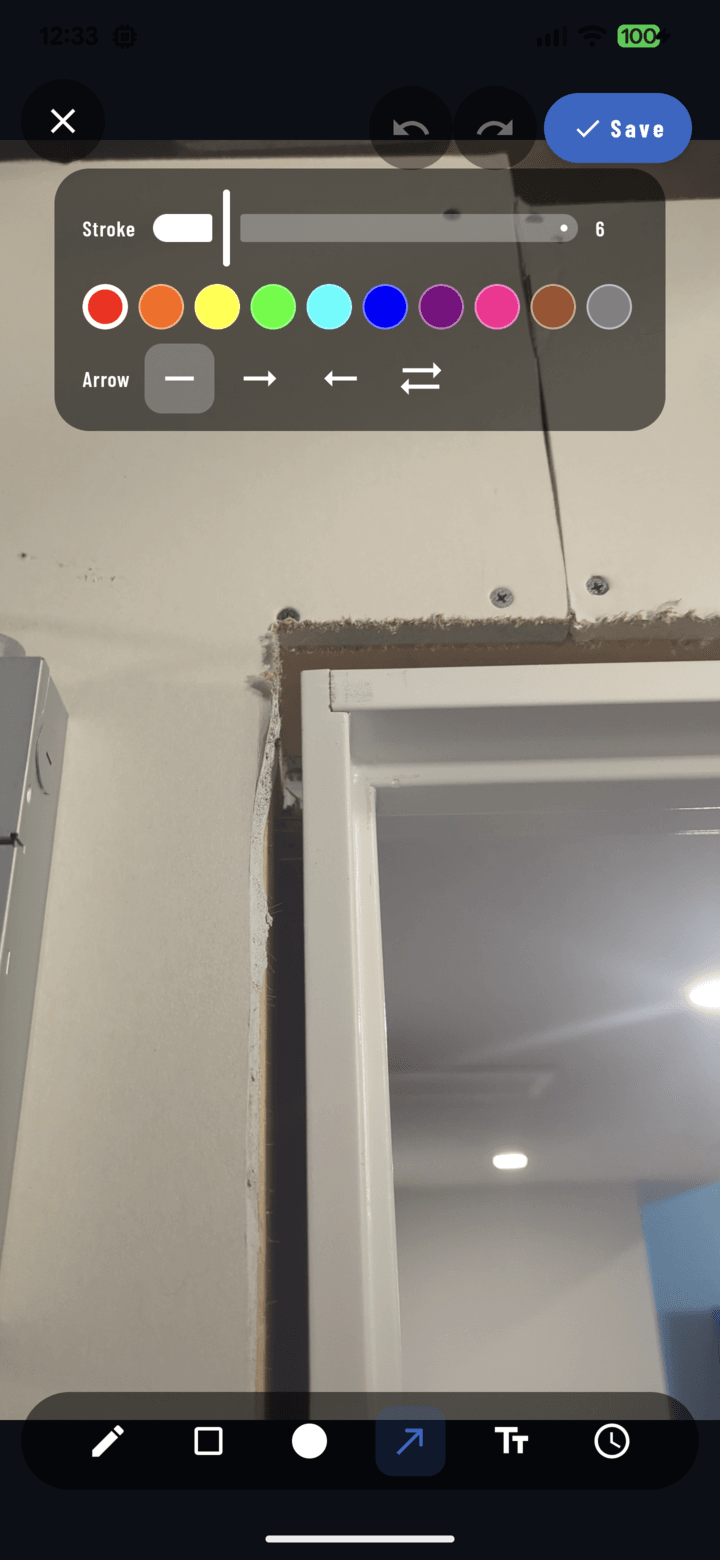
The line tool's contextual controls: stroke width, colors, and the four arrow modes.
Steps
- Open the photo full-screen → Annotate.
- Select the Line tool in the toolbar.
- Drag across the photo from start point to end point — the line draws as you go.
- With the line selected, pick an arrow mode from the contextual controls:
• None — plain line (underline a crack, mark a level line)
• End — arrowhead at the finish → classic pointer
• Start — arrowhead at the origin
• Both — arrowheads both ends (span/dimension callouts) - Adjust color and thickness from the same contextual bar (colors · thickness).
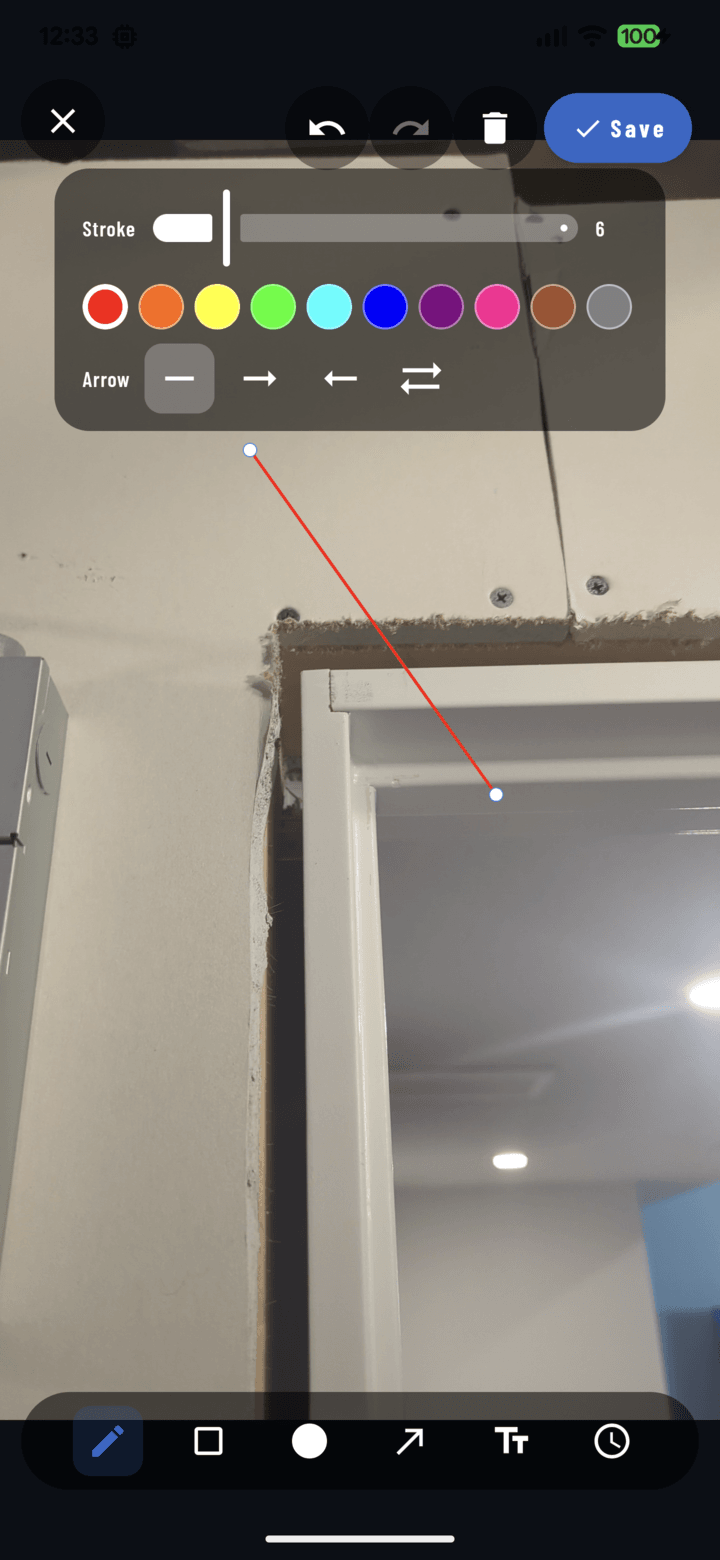
A drawn line with its endpoint handles — drag either end to re-aim it.
Precision Tips
- Pinch-zoom the canvas (up to 6×) before drawing — a two-inch crack needs a zoomed-in line.
- After drawing, switch to Select, tap the line, and drag its endpoint handles — the magnifier loupe shows exactly where your fingertip is.
- Pair an arrow with a text label: arrow points, text explains.