
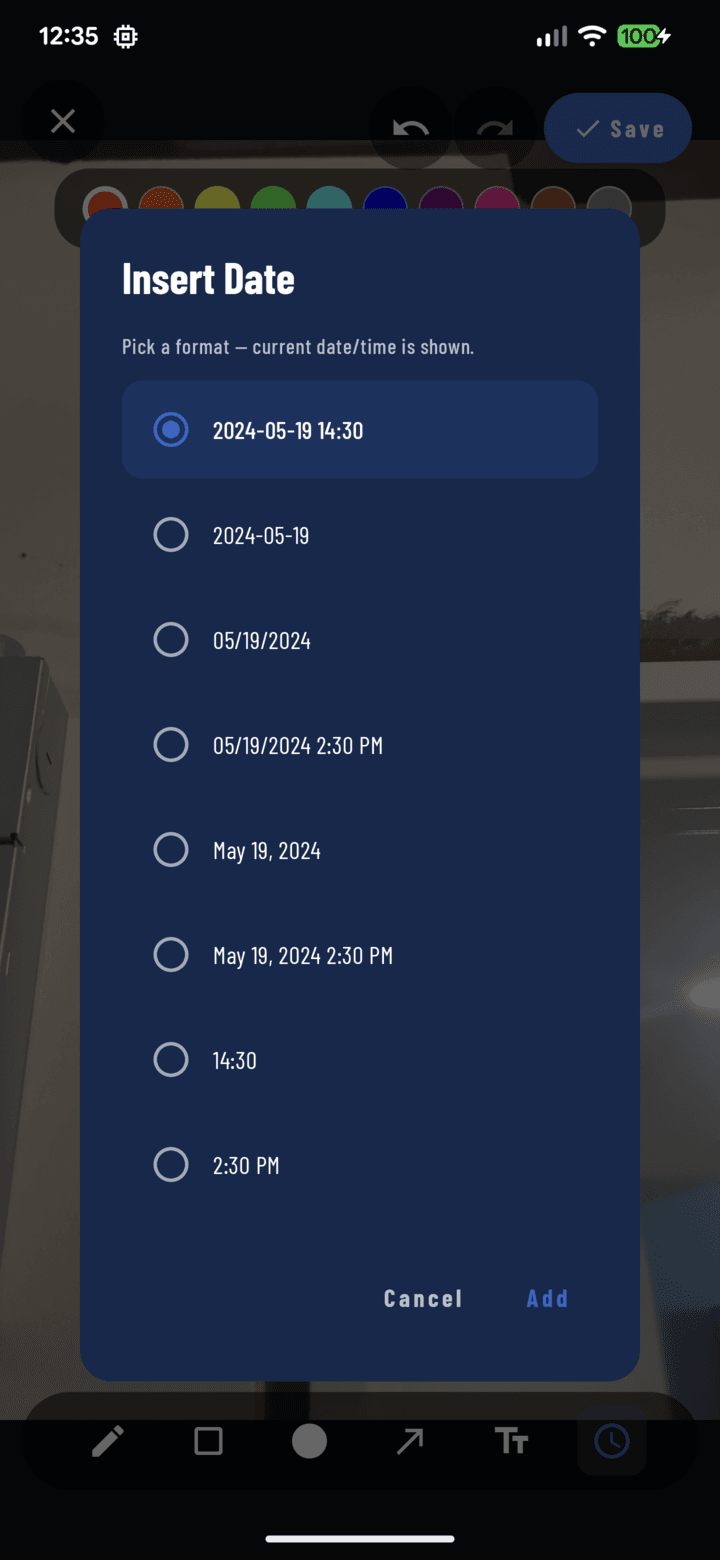
The Insert Date dialog — pick the date format the stamp will use.
Steps
- Open the photo full-screen → Annotate.
- Select the Timestamp tool.
- Tap where the stamp should sit — a formatted date drops onto the photo.
- Choose the date format in the format dialog — pick the style your client or adjuster expects.
- Like any annotation object, the stamp is adjustable: Select it to move it, change its color for contrast, or double-tap to edit.
Visible Stamp vs. Metadata
Every CrewBox photo already carries its capture date, time, photographer, and GPS in metadata — automatically, always. The Timestamp tool is for making the date visible on the image itself:
- Insurance packages where the adjuster reads pages, not metadata
- Printed photos and report pages
- Before/after pairs where the dates are the story
And because it's a normal annotation, reports can show the photo with or without the stamp (display modes) — the clean original is never lost.