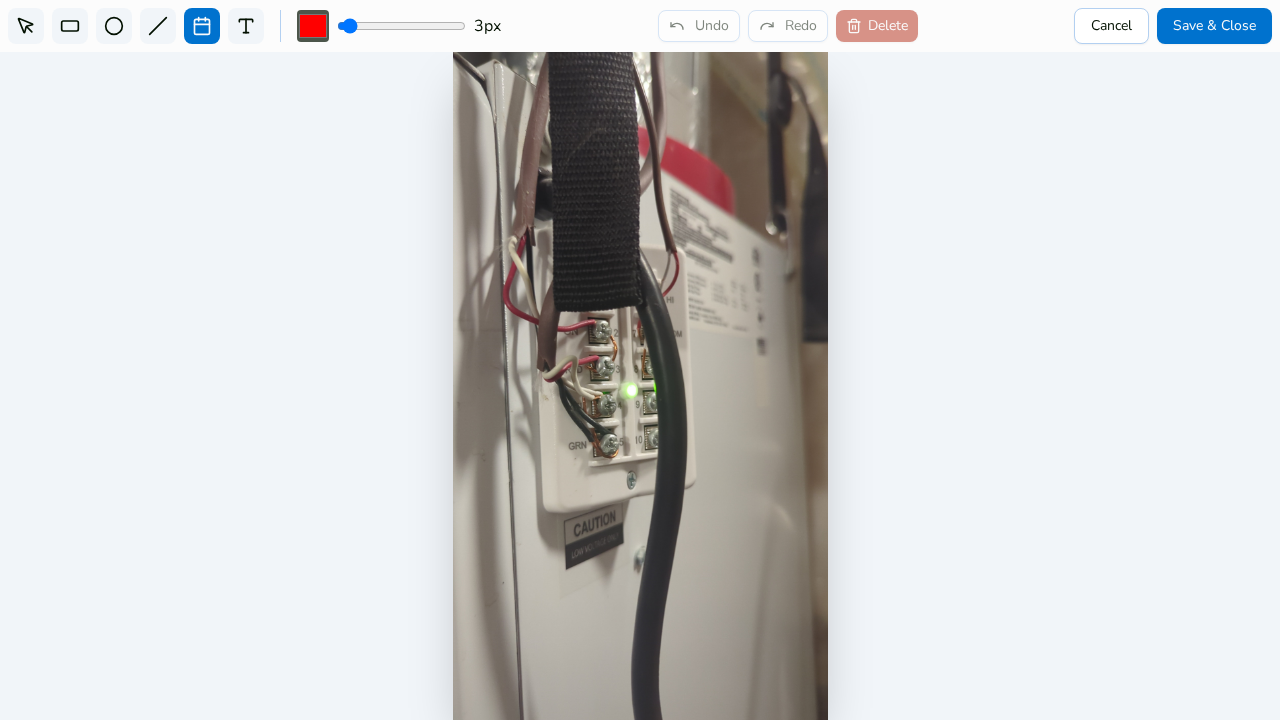
Steps
1. Open the annotation editor
In the photo viewer, click Annotate.
2. Choose the Timestamp tool
Select Timestamp from the toolbar.
3. The capture date is stamped as text
The tool places the photo's capture date onto the image as a text annotation — no typing, no chance of a typo'd date.
4. Position and style it
Use the Select tool to drag the stamp wherever it reads best, resize it, or rotate it. Adjust the color if the default doesn't stand out against the photo.
5. Save & Close
Click Save & Close. Like all annotations, the timestamp is a non-destructive overlay — toggle it with Show/Hide annotations in the viewer, and choose whether reports render the Original, Annotated, or Both versions.
Tips
- The photo's capture date also always lives in the viewer's Details panel — the timestamp tool is for making it visible on the image itself.