
Steps
1. Open the annotation editor
In the photo viewer, click Annotate.
2. Choose the Line tool
Select Line from the toolbar.
3. Pick an arrowhead style
Lines come in four styles:
- None — a plain line
- Start — arrowhead at the starting point
- End — arrowhead at the finish (the default)
- Both — arrowheads on both ends
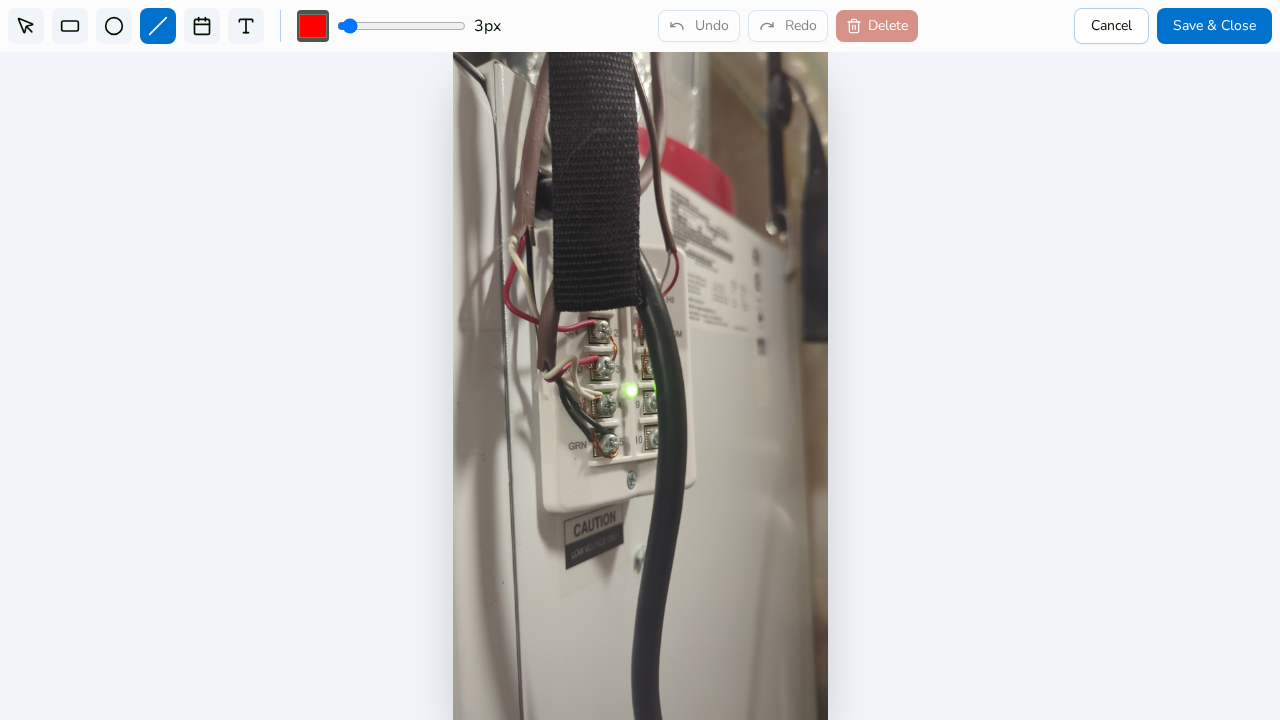
4. Set color and thickness
Choose a color (default red) and drag the stroke-width slider anywhere from 1 to 50 px — go thick for visibility in a busy photo.
5. Draw it
Drag across the photo from where the arrow should start to where it should point.
6. Adjust, then save
Switch to the Select tool to move, resize, or rotate the line if needed, then click Save & Close.