
Steps
1. Open the photo and click Annotate
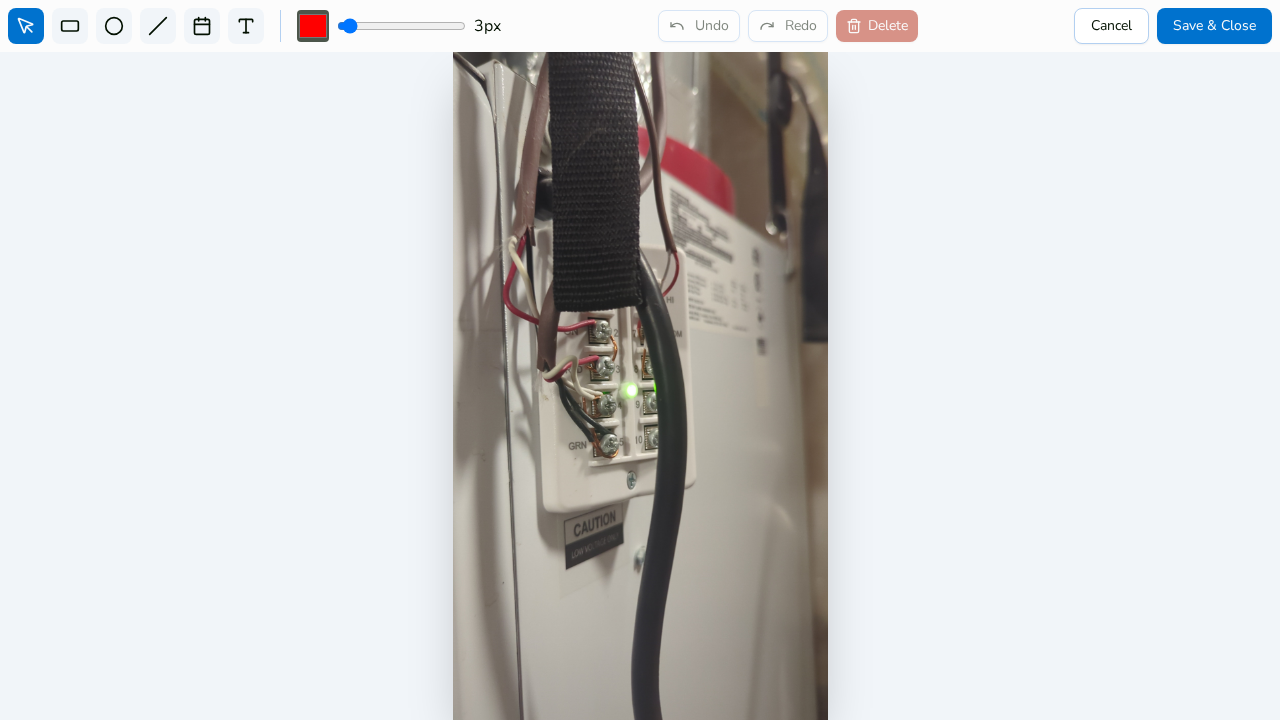
Open the photo in the detail viewer and click Annotate in the Quick Actions. (Annotation is for photos — videos don't offer it.) The full-screen annotation editor opens.
2. Pick a tool
The toolbar offers:
- Select — move, resize, rotate, or delete existing annotations
- Rectangle and Circle — box or ring an area
- Line — draw lines and arrows
- Text — free text or measurement labels
- Timestamp — stamp the photo's capture date
3. Style it
Set the color (red by default) with the color picker and the stroke width (1–50 px) with the slider.
4. Save & Close
Click Save & Close to keep your markup, or Cancel to throw the session away.
5. Toggle annotations in the viewer
Annotations are non-destructive vector overlays — never burned into the pixels. Use Show/Hide annotations in the viewer's Quick Actions to flip between the marked-up and original photo, and reports can render Original, Annotated, or Both.