
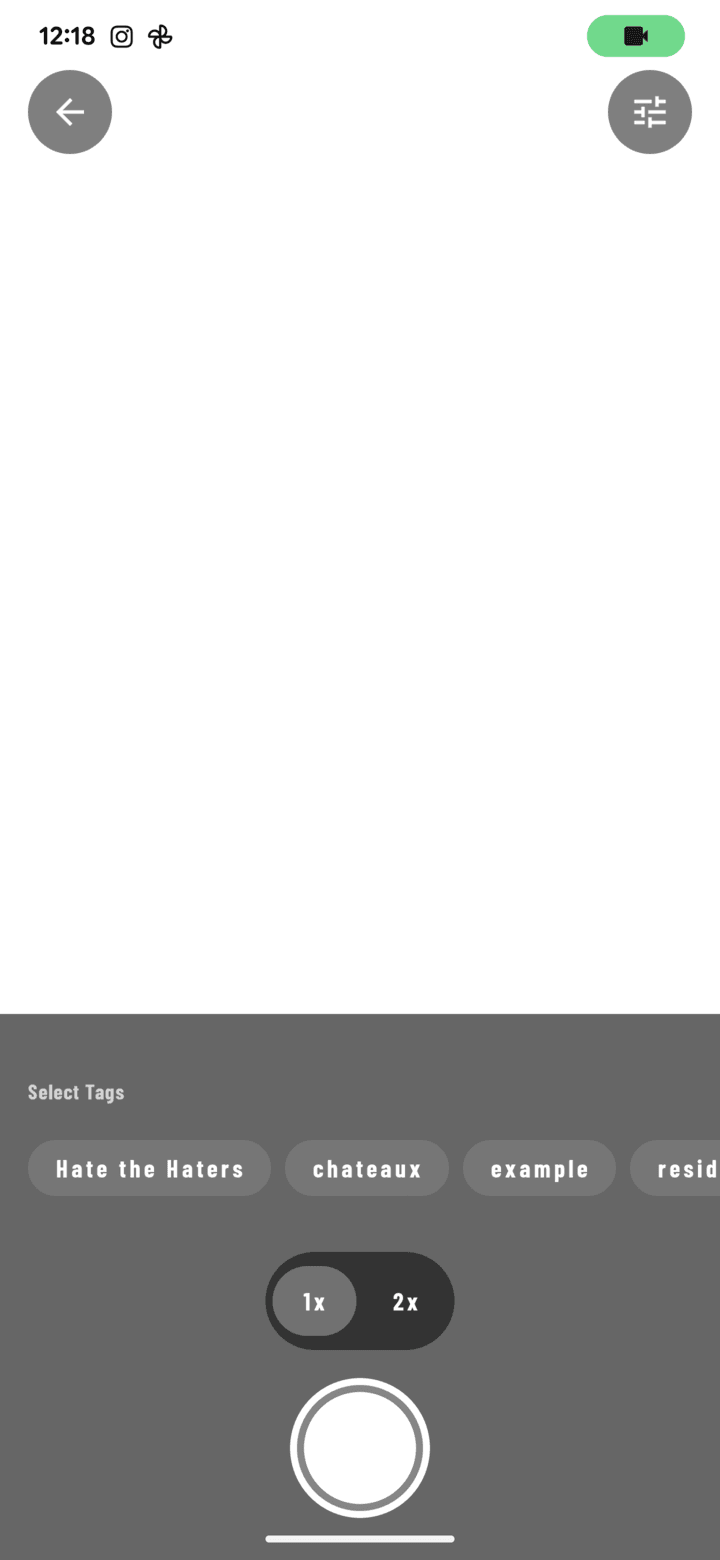
The capture screen: tag chips above the shutter, 1x/2x zoom pills, and the shutter button.
Opening the Camera
Three ways, fastest first:
- Swipe horizontally anywhere on the Home screen — the camera opens for your last-used project.
- Tap the camera shortcut on any project card.
- Inside a project, tap the camera FAB on the Photos tab.
Taking Photos
- Grant location permission when asked (this geotags your photos).
- Frame the shot — pinch to zoom, or tap the 1x / 2x pills.
- Optionally tap tag chips above the shutter — every capture will carry those tags.
- Capture:
• Tap the shutter button, or
• Press a volume key — hold it for burst mode (a shot every half second). - Each capture drops into the tray (badge shows the count) so you can keep shooting without interruption.
Straight, Well-Composed Shots
Open the settings sheet in the camera and enable:
- Grid — rule-of-thirds overlay.
- Level indicator — a bubble level that shows when your phone is straight.
- Aspect ratio — 16:9 or 4:3.
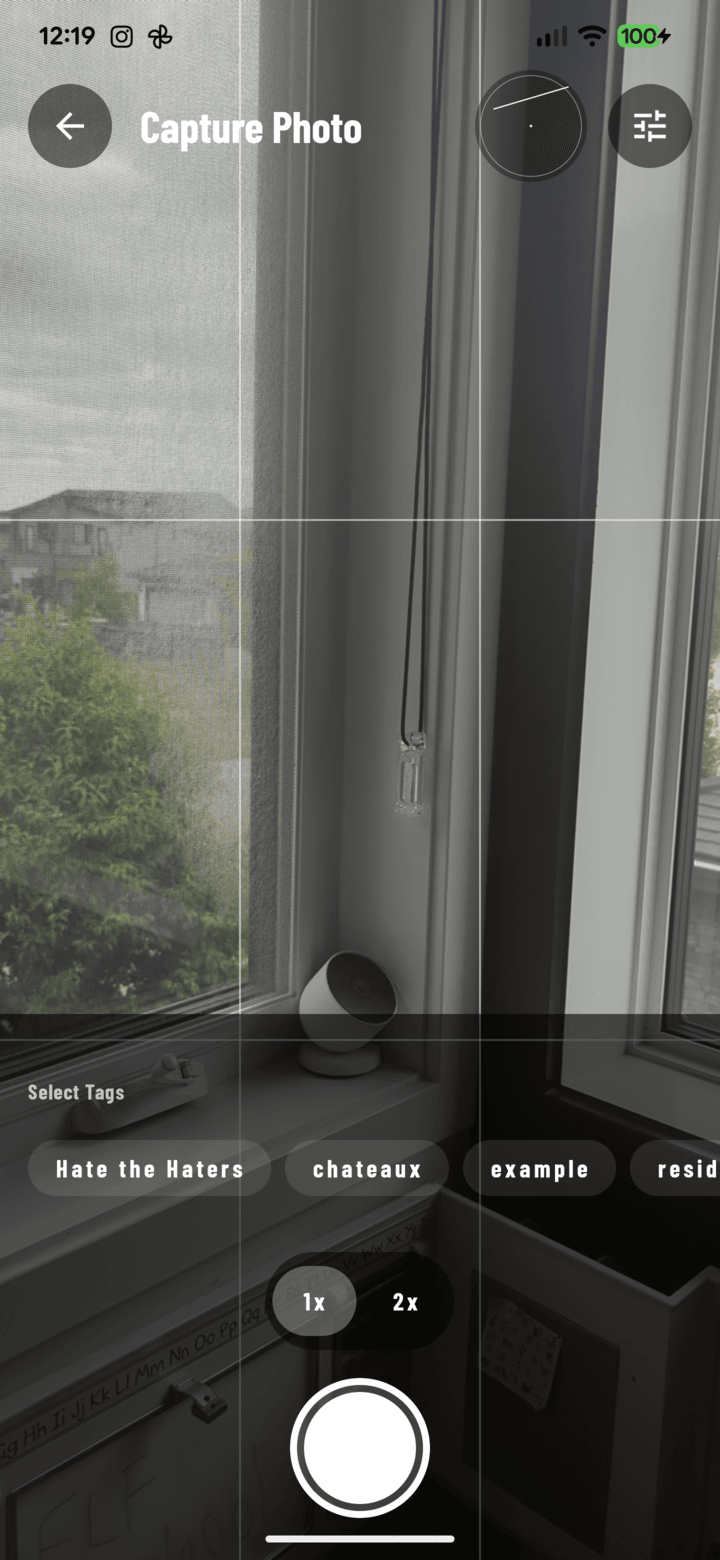
The rule-of-thirds grid and bubble level help keep shots straight and well composed.
Notes and Annotation on Capture
In camera settings, choose an After capture mode:
- Off — keep shooting (default).
- Notes — the tray opens after each shot so you can add notes and adjust tags immediately.
- Annotate — the drawing editor opens on each shot for instant markup.
Sending Your Photos
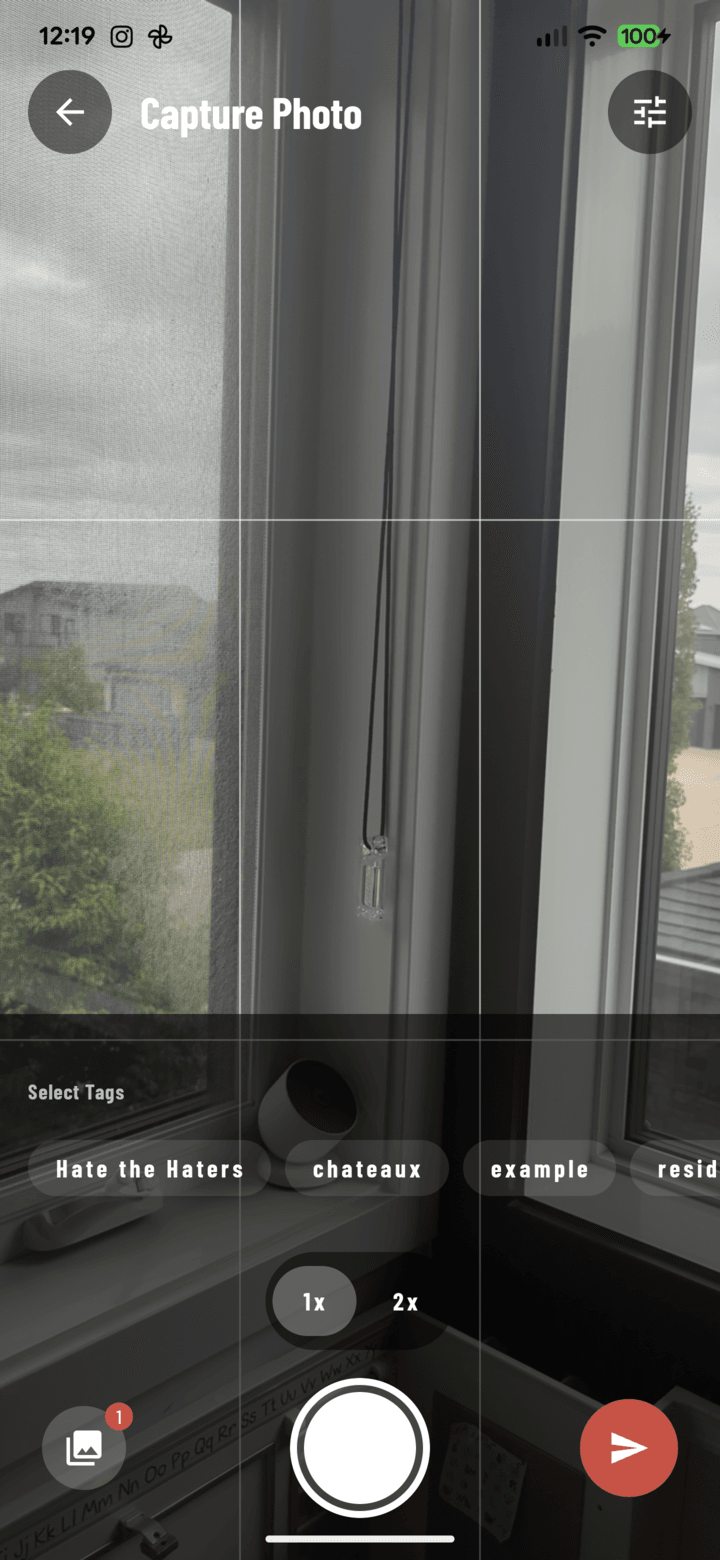
After a capture, the tray badge shows the photo count and the send button uploads the batch.
- Tap the tray badge to review: edit notes and tags per photo, delete rejects, then Upload All — or just tap Send.
- Uploads run in the background (two at a time). No signal? Everything waits safely in the Upload Queue and uploads automatically when you're back online.