Steps
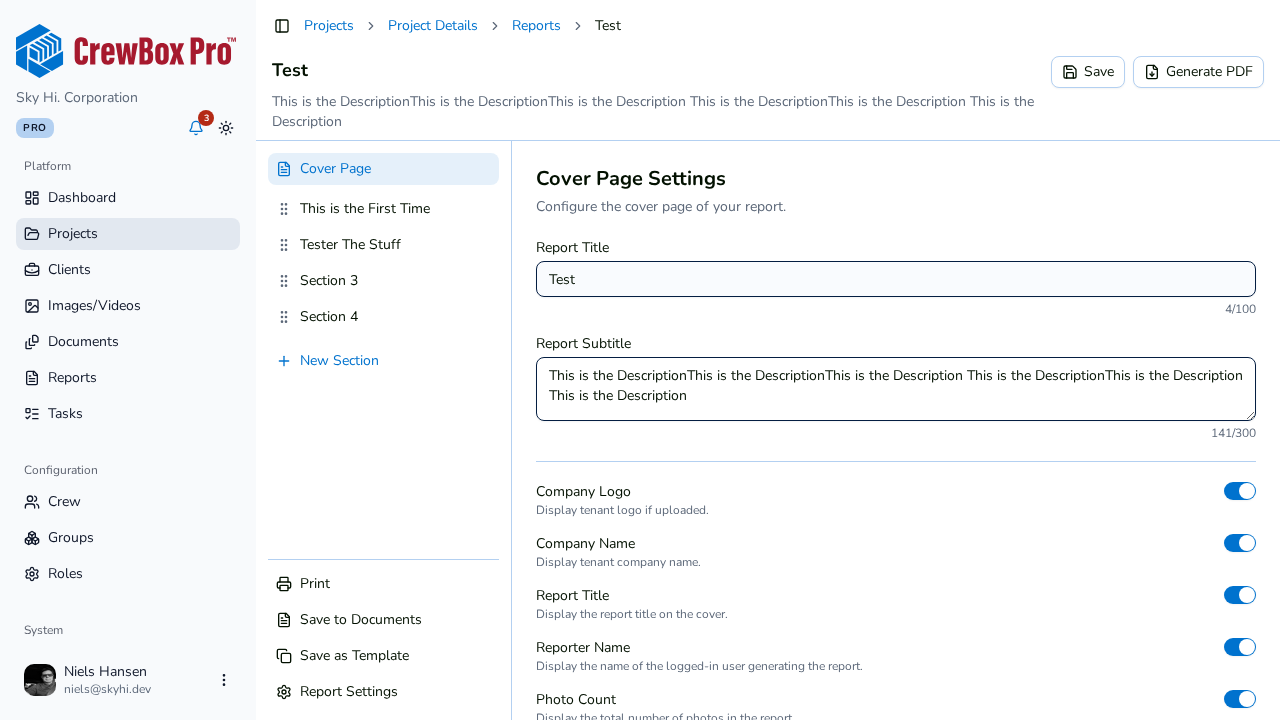
1. Open the report
Open your project, click the Reports tab, and click Open on the report you want to print.
2. Check the content
On large screens, glance over the Live Preview pane — what it shows is exactly what will print, since the same in-browser renderer produces both.
3. Click Print
At the bottom of the section sidebar, click Print. CrewBox generates the PDF client-side, opens it, and brings up your browser's print dialog with the document loaded.
4. Finish in the browser dialog
Choose your printer, paper, and page range in the browser dialog and print. The pages are laid out for A4, so pick A4 (or let your printer scale) for the intended layout.
What's on the printed pages
Exactly what the report's settings dictate: the cover page (if included), optional section title pages, photo pages chunked by your photos-per-page choice, running headers and footers with resolved tokens like {{PageNumber}}, continuous photo numbering, and any enabled metadata (captured by, date, GPS, tag pills). Annotated photos print with their vector markup, matching what you drew in the annotation editor.
Alternatives
- Generate PDF (editor header) — download the file instead, for emailing or archiving.
- Save to Documents — file the PDF into the project's document library, tagged "Report".