
Steps
1. Set the report-wide default
In the report editor, click Report Settings, then find the default photo display setting in the section-pages options. Choose:
- Original — the photo as captured.
- Annotated — the photo with its annotation overlay rendered on top.
- Both — original and annotated versions printed side by side.
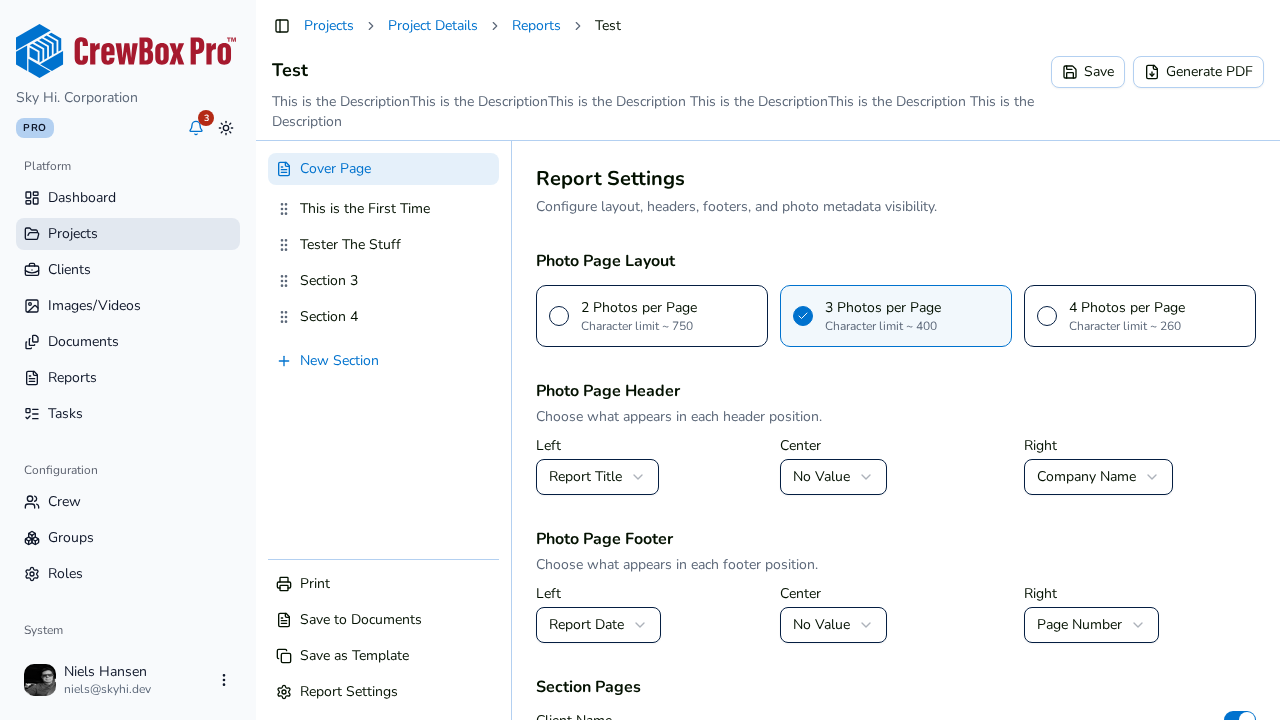
This default applies to every photo in the report that doesn't have its own override.
2. Override individual photos
Open a section and find the photo's row. When the photo has annotations, its row shows a Display selector with the same three choices — pick one to override the default for just that photo. Photos without annotations don't show the selector, since there's only the original to print.
3. Verify in the preview or PDF
On large screens the live preview re-renders after each change. In the generated PDF, annotations are drawn as crisp vector overlays — rectangles, circles, lines with arrowheads, and text — exactly as they appear in the app's annotation editor. With Both, the two versions appear side by side on the page.
When to use each mode
- Original — clean progress documentation where markup would distract.
- Annotated — punch lists and defect reports where the markup is the point.
- Both — client-facing reports where you want the untouched evidence next to the callouts.