
Steps
1. Open the section holding the photo
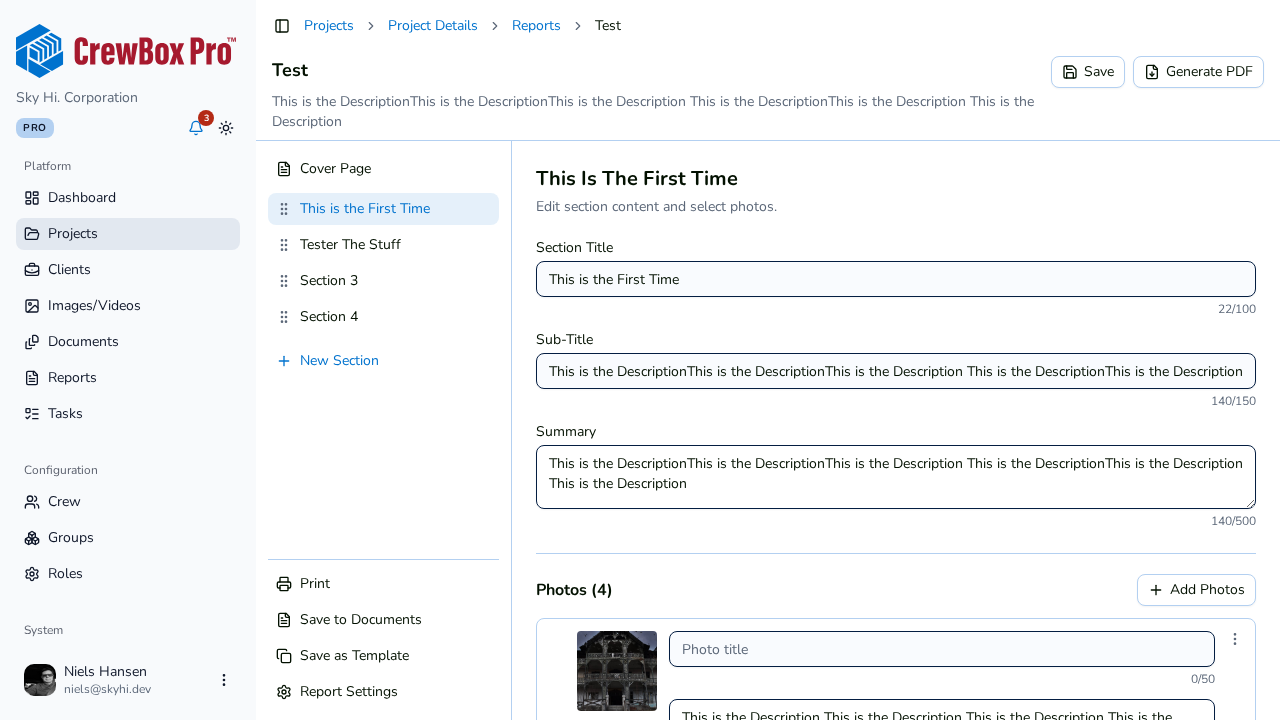
In the report editor, click the section in the sidebar. Its photo rows appear in the editing pane, each with a thumbnail, title, description, and a row menu.
2. Open the photo's row menu
Click the menu on the photo's row. It offers three actions:
- Move to Section
- Duplicate
- Delete
3. Choose Move to Section
Click Move to Section. A dialog lists the report's other sections — pick the destination and confirm. The photo row moves there, keeping its title, description, and display setting.
4. Fine-tune the destination
Open the destination section and drag the row into the position you want; row order is the order photos print in the PDF.
Duplicating instead of moving
If the same photo belongs in two sections — say, an overview section and a defect-detail section — use Duplicate from the same row menu. The copy is independent: you can give it a different title, description, or display mode without affecting the original row.
Tips
- Moving or duplicating a row never touches the underlying photo in the project's media library — report rows are references with their own overrides.
- Changes autosave, and the live preview (on large screens) reflects the new layout within a moment.